
Crochet is very versatile. It's great for making shapes and forms. I've seen a lot of crocheted Viking Helmets on line, but most of them don't come with patterns, so I decided to come up with my own. Happy Halloween!

Materials
- Red Heart Super Saver Yarn in Country Blue, Coffee, and Buff
- Caron Simply Soft Mango
- H and G Crochet Hooks
- Polyfil fiber
- Darning Needle
6 sts and 3 rows = 2 inches
Corrections
Corrections are in red print.
Special Stitches
FPDC--Front Post Double Crochet--do a regular dc stitch, but insert the hook under the post of the stitch you are attaching it too, this will make the stitch pop out from the rest of the stitches.
 |
| YO hook, insert hook under post of st |
 |
| YO, pull up a loop |
 |
| YO, pull through 2 loops |
 |
| YO, pull through last 2 loops |
 |
| finished FPDC |
Bobble--Yarn over hook (YO), insert hook into stitch (st) , YO, pull up a loop (lp) YO, pull through 2 lps, *YO, insert hook into same st, pull up a lp, YO pull through 2 lps* 5 times, you should have 7 lps on your hook. YO pull through all lps on the hook. YO pull through the one lp on the hook to secure the Bobble. Push your finger through the back to get it to pop out.
 |
| YO, insert hook in stitch |
 |
| Pull up a loop, YO, pull through 2 loops |
 |
| 2 loops on hook, YO |
 |
| Insert hook in same stitch |
 |
| Pull up a loop, YO, pull through 2 loops on hook. Continue with YO insert Hook in stitch, YO pull through 2 loops until you end up with... |
 |
| 7 loops on the hook |
 |
| YO, pull through all loops on the hook |

 |
| YO, pull through one loop on hook to secure |

 |
| Push out bobble |

Abbreviations
ch(s)--chain(s) dc(s)--double crochet(s)
sl st--slip stitch beg--beginning
st(s)--stitch(es) FPDC--front post double crochet
hdc--half double crochet
m2--do 2 scs in the same st m2 x 2--do 2 scs in next 2 sts
Hat
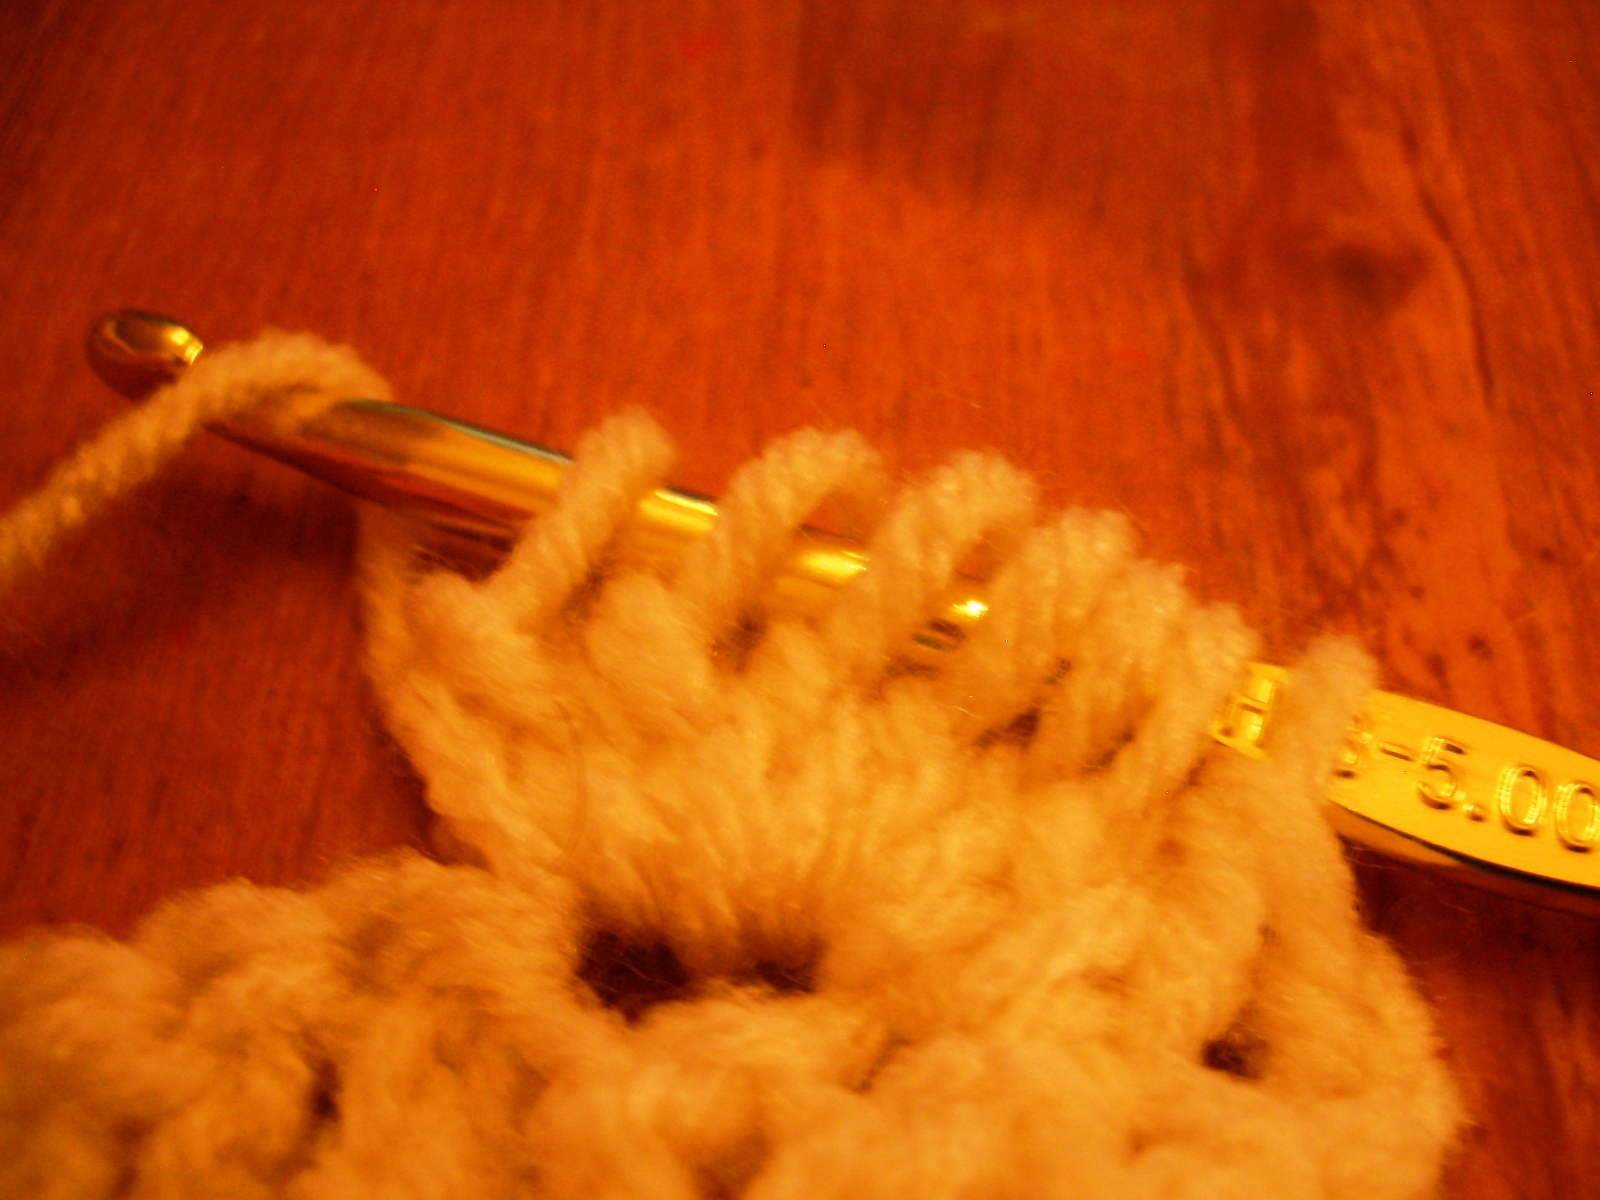
Rnd 1: Starting with H Hook, Country Blue yarn and a Magic Circle ch 3 (counts as first dc) then 11 dcs in circle, sl st in top ch of beg ch. (12 dcs) (correction)


Rnd 2: Ch 3 (counts as first dc), dc in same dc, 2 dcs in next dc, FPDC in next dc, *(2 dcs in next dc) two times, FPDC in next dc* 3 times, sl st in top ch of beg ch.


 |
| FPDCs |
Rnd 3: Ch 3, 2 dcs in next dc, 1 dcs in next dc, 2 dcs in next dc, FPDC over previous FPDC. *(dc in next dc, 2 dcs in next dc) two times, FPDC over previous FPDC* 3 times, sl st in top ch of beg ch.

 |
| You get the idea, see the ridges forming? |
Rnd 5: Ch 3, dc in next 2 dcs, 2 dcs in next dc, dc in next 3 dcs, 2 dcs in next dc, FPDC in previous FPDC. *(dc in next 3 dcs, 2 dcs in next dc) two times, FPDC in previous FPDC* 3 times, sl st in top ch of beg ch.
Rnd 6: Ch 3, dc in next 3 dcs, 2 dcs in next dc, dc in next 4 dcs, 2 dcs in next dc, FPDC in previous FPDC. *(dc in next 4 dcs, 2 dcs in next dc) two times, FPDC in previous FPDC* 3 times, sl st in top ch of beg ch.
Rnd 8: Ch 3, dc in next 5 dcs, 2 dcs in next dc, dc in next 6 dcs, 2 dcs in next dc, FPDC in previous FPDC. *(dc in next 6 dcs, 2 dcs in next dc) two times, FPDC in previous FPDC* 3 times, sl st in top ch of beg ch.
Rnd 9 to 11: Ch 3, dc in each dc, FPDC in each FPDC around, sl st in top ch of beg ch. Fasten off leaving a tail for weaving in.
Rnd 12: Attach Coffee yarn, to ch 3 of row 11 using the G Hook, ch 2, hdc in same st and then hdc in each dc and FPDC around (don't do a fphdc), sl st in top of first hdc.
Rnd 13: Ch 3, dc in next two dcs, Bobble, *dc in next 3 dcs (don't skip any dcs), Bobble* 16 times, dc in last dc, sl st in top ch of beg ch.
Rnd 14: Ch 2, hdc in same st, hdc in each st around (including Bobble), sl st in first hdc. Fasten off, leaving a tail for weaving in.
Horns
Using the Buff yarn and the G Hook I used this pattern from MyGurumi. The horn is done in a spiral, so you may have to use a stitch marker to keep track of where you are. She uses a little bit different abbreviations in her pattern.
Greenbutterfli over at Ravelry told me she had trouble with the link to this pattern.
MyGurumi uses the Magazine format, which is hard to read. You can click on the drop down button on the left for the classic view, but then it goes to her most recent post, but if you type horn in the search box the pattern will come up and it's readable.
Check out Greenbutterfli's hilarious version of the Viking Helmet here.
m2--2 scs in same sc
m2x2--2 scs in same sc two times
sc4 (etc)-sc in next 4 sts, or the number next to the sc
sc4 (etc)-sc in next 4 sts, or the number next to the sc
I also just used a regular magic circle in the beginning. Instead of finishing the last sc, I added in the Coffee yarn and did four more rows in the following manner:


Rnd 19: sc9, m2, sc12
Rnd 20: sc10, m2 x2, sc10, sc2tog
Rnd 21: sc10, m2, sc13, Fasten Off leaving a tail about 10 inches long. You will use this to sew the horn together and then to attach it to the hat. Make 2.


then stuff with polyfil and sew onto hat between FPDC rows.

Braids
Wrap Mango yarn around your forearm, from thumb to elbow about 40 to 50 times, enough to make two fairly thick braids. 
Cut the yarn at both ends to make straight strands. Separate yarn into to two hanks. Tie one end of one hank with a short piece of Mango yarn, then braid and tie opposite end with a short piece of Coffee yarn. Trim ends to make them even and then sew the ends tied with the Mango yarn under the hat directly beneath the horns. If you would rather have a beard check out this cool pattern by Melissa Campbell.


